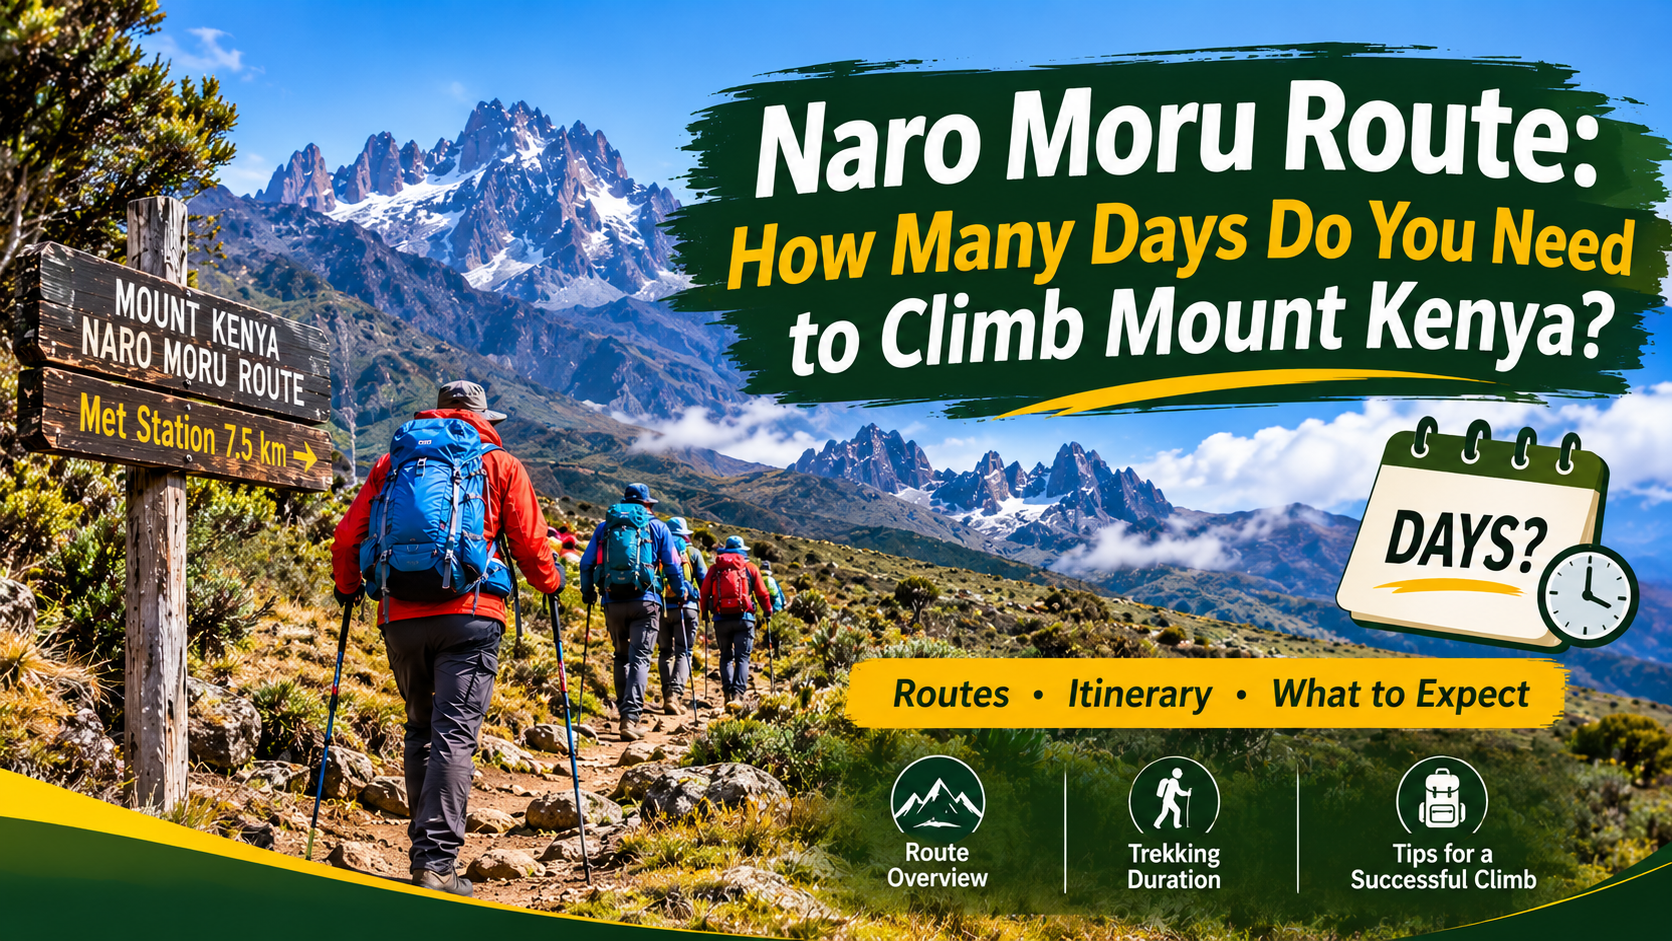
The naro moru route offers a direct approach to Mount Kenya’s high-altitude scenery, but choosing the right duration requires more than counting walking hours.
Four-day itineraries are common, while longer schedules allow additional acclimatisation and flexibility. Three-day attempts demand careful scrutiny, particularly for visitors arriving from lower elevations.
For most trekkers, the objective is Point Lenana rather than Mount Kenya’s technical climbing summits. Fitness, previous altitude exposure and overnight elevations should shape the schedule.
Ice Rock Trekking enquiries should begin with one practical question: how much time does the proposed itinerary allow your body to adjust?
How Many Days Should You Allow?
Allow four to six mountain days as an initial planning range, then assess the actual itinerary against your experience and acclimatisation needs.
A four-day trek follows a compact schedule. Five or six days can provide additional adjustment time, although the placement of extra nights matters.
Some advertised packages include arrival accommodation and road transfers within their headline duration. Others count only the days between entering and leaving the mountain.
Before comparing options, separate:
- Mountain walking days.
- Nights at each elevation.
- Arrival and departure transfers.
- Accommodation before the trek.
- Additional acclimatisation walks.
- Weather or recovery allowance.
A five-day package does not necessarily provide five days on the mountain. Read the daily programme before deciding which option offers better preparation.
Common four-day itineraries progress through Met Station and Mackinder’s Camp before the summit attempt and descent. Walking times vary with conditions and group pace.
Which Summit Does the Route Reach?
Most trekking itineraries target Point Lenana, approximately 4,984 metres above sea level. Mount Kenya’s higher summits, Batian and Nelion, require technical climbing arrangements.
Kenya Wildlife Service lists Batian at 5,199 metres and Nelion at 5,188 metres. Confirm the intended summit whenever a package advertises “climbing Mount Kenya”.
Point Lenana usually involves trekking and scrambling rather than a technical rock-climbing expedition. However, steep ground, darkness, cold and possible ice increase the challenge.
A trekking itinerary should specify:
- The intended summit.
- The approach and descent routes.
- Expected terrain near the summit.
- Equipment requirements for prevailing conditions.
- Procedures for changing or abandoning the attempt.
Travellers seeking Batian or Nelion need a separate discussion about technical ability, specialist equipment, climbing support and additional expedition time.
Why a Short Route Still Needs Careful Planning
A direct approach can reduce distance without reducing the demands of altitude. Your body still needs time to adjust as oxygen availability decreases.
The route moves from forest into open moorland before reaching the higher Teleki Valley. Wet ground and sustained ascent can make progress slower than expected.
The section commonly called the Vertical Bog can become especially tiring after rainfall. Its name describes a challenging stretch of steep, often waterlogged moorland.
Higher up, exposure replaces forest shelter. Wind, cold and uneven footing place additional demands on tired trekkers.
The summit attempt then combines an early departure, limited sleep, steep climbing and a substantial descent.
Choose a duration that accounts for the whole journey. Reaching Point Lenana represents only part of the effort; descending safely requires energy and concentration.
What Does a Four-Day Itinerary Look Like?
The following outline illustrates a common structure rather than a fixed departure programme. Confirm elevations, accommodation and walking estimates before booking.
Day One: Park Entry to Met Station
After registration and the approach transfer, trekkers usually walk through the forest towards Met Station, at approximately 3,000 metres.
Keep the opening day controlled. An easy pace helps establish sustainable breathing, identify footwear problems and assess how the group responds to increasing elevation.
Arrival arrangements affect this stage. Ask whether the programme starts with walking from the gate or includes vehicle access farther along the approach.
Day Two: Met Station to Mackinder’s Camp
The trail rises through moorland and the bog section before continuing towards Mackinder’s Camp, commonly listed at around 4,200 metres.
This stage involves a substantial increase in sleeping altitude. Mud, rain and fatigue can extend the day beyond the advertised estimate.
Day Three: Point Lenana and Descent
A typical programme starts before dawn, attempts Point Lenana and returns through Mackinder’s Camp before continuing towards lower accommodation.
This is usually the most demanding day. The combination of climbing and descent requires a realistic pace, sufficient food and clear turnaround decisions.
Day Four: Exit and Return Transfer
The final stage returns through the lower slopes towards the exit and onward transport.
Avoid placing a tightly timed flight immediately after the trek. Weather, road conditions and the group’s descent pace can affect departure.
Is Four Days Enough for a First-Time Trekker?
Four days may suit some trekkers, particularly those with relevant recent altitude exposure. It should not become the automatic choice for every beginner.
The key concern is the overnight ascent between Met Station and Mackinder’s Camp. That increase exceeds conservative recommendations for sleeping-altitude gains above 3,000 metres.
The CDC advises limiting sleeping-altitude increases above 3,000 metres to about 500 metres per night, with additional acclimatisation nights during further ascent.
A commonly sold itinerary does not necessarily match every traveller’s needs. Strong cardiovascular fitness also does not guarantee protection from altitude illness.
Before accepting a four-day schedule, consider:
- Previous overnight stays at altitude.
- Any earlier altitude-related symptoms.
- The elevation immediately before the trek.
- Recovery between demanding walking days.
- Available options for slowing or changing the ascent.
First-time high-altitude trekkers should discuss a more gradual programme rather than choosing solely by price or annual-leave availability.
What Can Five or Six Days Add?
Extra days can create a better-paced trip when they support a deliberate acclimatisation plan. Their value depends on where the itinerary places them.
Additional Time Before Higher Camps
An extra night at an appropriate elevation can provide time for adjustment before the next substantial ascent.
A manageable daytime walk may also help assess energy, appetite and comfort before the group proceeds higher.
Greater Flexibility Around the Summit Attempt
A longer programme can reduce pressure to continue when someone needs reassessment or when conditions deteriorate.
However, an extra night already spent at high camp does not erase the effects of a rapid approach.
A Less Compressed Descent
Some longer itineraries distribute the return journey more comfortably. This can help trekkers who find prolonged downhill walking demanding on their knees.
Ask the operator to explain what each additional day achieves. A useful programme should connect extra time with a specific purpose.
Depending on available camps, an alternative approach may offer a more suitable ascent profile than simply adding nights to the same route.
Can You Complete the Route in Three Days?
Some operators advertise three-day schedules, but these compress an already demanding climb. They may combine long walking stages with limited time for altitude adjustment.
Such programmes require careful assessment of recent acclimatisation, mountain experience and the exact starting arrangements.
For a traveller arriving from low elevation, saving one day can create disproportionate pressure on the ascent and summit schedule.
A short itinerary also leaves fewer options when:
- Rain slows movement through the bog.
- A participant develops symptoms.
- Equipment requires attention.
- The group needs additional recovery.
- Summit conditions prevent safe progress.
Do not treat a three-day summit attempt as a routine beginner option. If time is severely limited, consider a lower-altitude trek without a summit objective.
Mountain scenery, forest walking and moorland viewpoints can still provide a rewarding visit without a rushed high-altitude ascent.
What Determines Daily Walking Times?
Published walking times provide estimates, not commitments. Two groups following the same trail can require substantially different amounts of time.
Ground Conditions
Mud and saturated vegetation slow progress on the lower and middle sections. Higher up, loose stones and slippery surfaces demand careful foot placement.
Group Pace
The group should move at a pace that supports its members. Faster walking early in the day can lead to fatigue later.
Pack Weight
A heavy daypack increases effort during sustained ascent. Confirm luggage arrangements and carry only the equipment required between stops.
Weather and Visibility
Wind, rainfall and poor visibility can affect both speed and route decisions. Summit timing should remain flexible when conditions require caution.
Individual Response to Altitude
Appetite, sleep and energy can change as elevation increases. Report symptoms promptly so the mountain team can assess the next step.
Build the itinerary around realistic movement and recovery rather than the fastest advertised completion time.
How Fit Do You Need to Be?
Prepare for consecutive walking days, sustained uphill effort and a long summit descent. General gym fitness alone may not replicate these demands.
A useful preparation routine includes:
- Regular walks on hills or stairs.
- Progressively longer outings.
- Back-to-back walking days.
- Leg-strength exercises.
- Controlled downhill practice.
- Walking with the intended daypack.
Use training walks to test boots, socks, layers and snacks. Minor equipment problems become harder to manage during a cold summit departure.
Increase training gradually and include recovery. Arriving with an injury or excessive fatigue can undermine otherwise careful preparation.
Fitness supports your ability to walk and recover, while acclimatisation supports adjustment to altitude. Both deserve attention when deciding how many days to book.
What Should You Pack for the Trek?
Pack for wet lower slopes and cold, exposed upper terrain. Keep essential clothing dry throughout the approach.
Footwear and Wet-Weather Protection
Wear well-fitting walking boots with reliable grip. Gaiters can help reduce mud and water entering around the boot tops.
Carry a waterproof jacket and trousers. Protect spare clothing and the sleeping bag with suitable dry bags or waterproof liners.
Warm Layers
Bring moisture-managing base layers, an insulating mid-layer and a warm outer layer suitable for the expected summit conditions.
Include a warm hat, gloves and spare socks. Confirm the required sleeping-bag rating against the planned accommodation and forecast.
Walking and Summit Essentials
Useful items include:
- A dependable headtorch and spare power.
- Trekking poles.
- Sunglasses and sunscreen.
- Accessible drinking containers.
- Familiar snacks.
- Personal medication.
- Basic blister supplies.
Ask whether the departure requires additional traction equipment. Snow and ice conditions can alter what the team considers necessary.
How Should Altitude Affect Your Decisions?
Altitude should influence the itinerary before departure and the decisions made during the climb.
Headache, nausea, dizziness and unusual fatigue after ascent require attention. Tell the mountain team promptly rather than waiting until the next scheduled stop.
Do not continue ascending with symptoms of altitude illness. Worsening symptoms require descent and appropriate assessment.
Confusion, difficulty walking steadily or breathlessness at rest require urgent action. A summit target must never override these warning signs.
Before booking, ask about communication, evacuation arrangements and the process for separating a descending participant from those continuing.
Discuss relevant health conditions and altitude-related medication with a qualified clinician before travel. Medication cannot replace a suitable ascent schedule.
What Should You Confirm With Ice Rock Trekking?
Request a written itinerary that explains the programme beyond its headline duration.
Confirm the following points:
- Exact number of mountain days.
- Sleeping locations and approximate elevations.
- Purpose of additional acclimatisation days.
- Expected walking demands.
- Accommodation and meal arrangements.
- Transport starting and finishing points.
- Mountain staffing and luggage support.
- Equipment included or available separately.
- Emergency communication and evacuation procedures.
- Costs associated with itinerary changes.
Also clarify park charges, personal equipment, insurance requirements and accommodation before or after the trek.
For professional trip planners, these details support more accurate client briefings. For individual trekkers, they make package comparisons clearer and reduce avoidable surprises.
Choose the Duration Around the Ascent
The best naro moru route itinerary balances available time with altitude exposure, walking ability and realistic recovery.
Four days offers a compact structure; longer programmes can provide valuable adjustment time when their overnight stages support that aim.
Discuss the complete ascent profile with Ice Rock Trekking before booking. Choose a schedule that allows sensible decisions throughout the climb and sufficient energy for the descent.